|
|
Building the Windmill Cap | June 1st, 2010 |
I'll admit, even more than the gears and the wind drive system, the notion of fabricating, assembling and
installing shingles on the windmill's cap has haunted me from the beginning of the project. In the original
plan, I had expected to build the conical cap - however, I had hoped that a team of roofers (with experience)
would be responsible for installing the shingles... Alas, with the economy being what it is - this was not to
be and clearly roofing was in my future...
So... let us begin at the beginning...
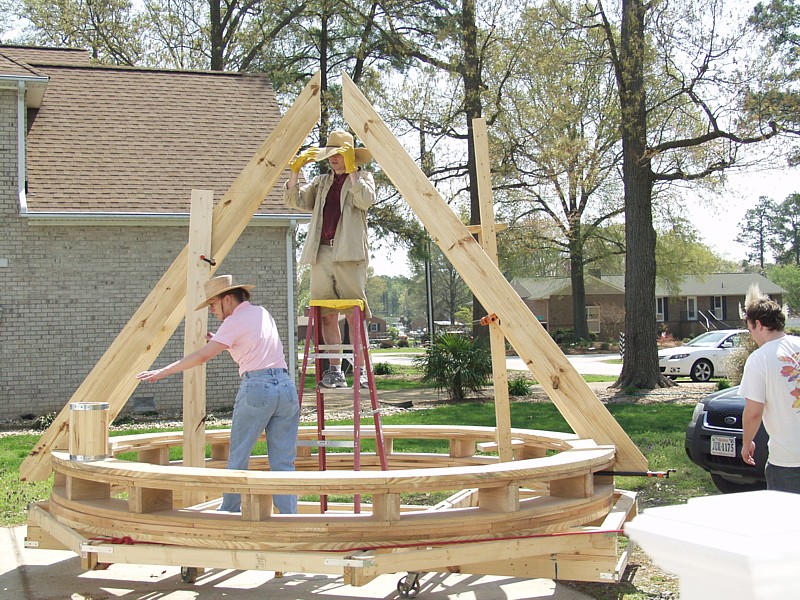
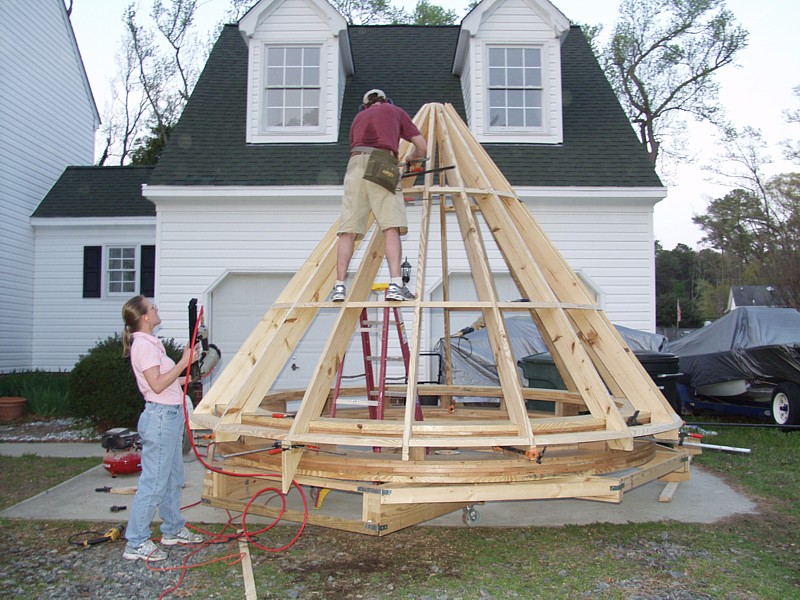
The work was conducted over Daniel's spring break from school so that I could have some help during the
work day, and also, someone to call an ambulance in the inevitable event of an accident. I cut most of the
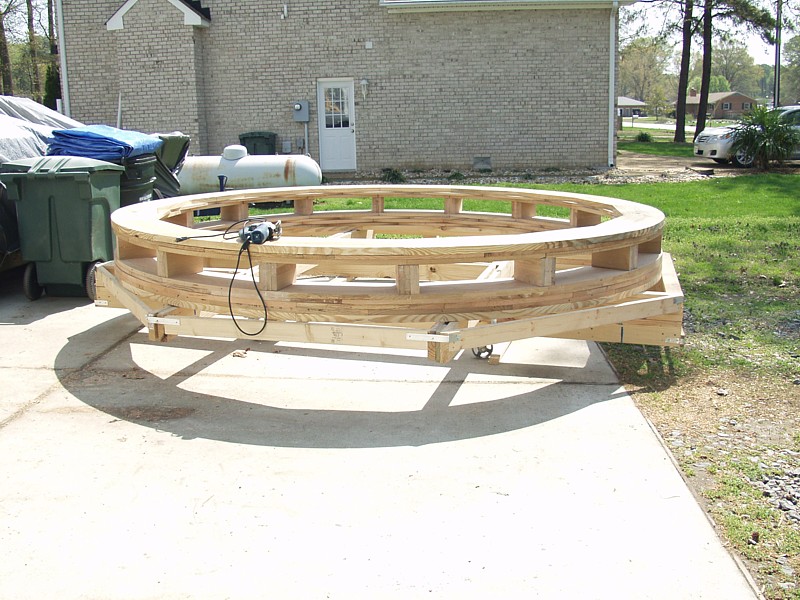
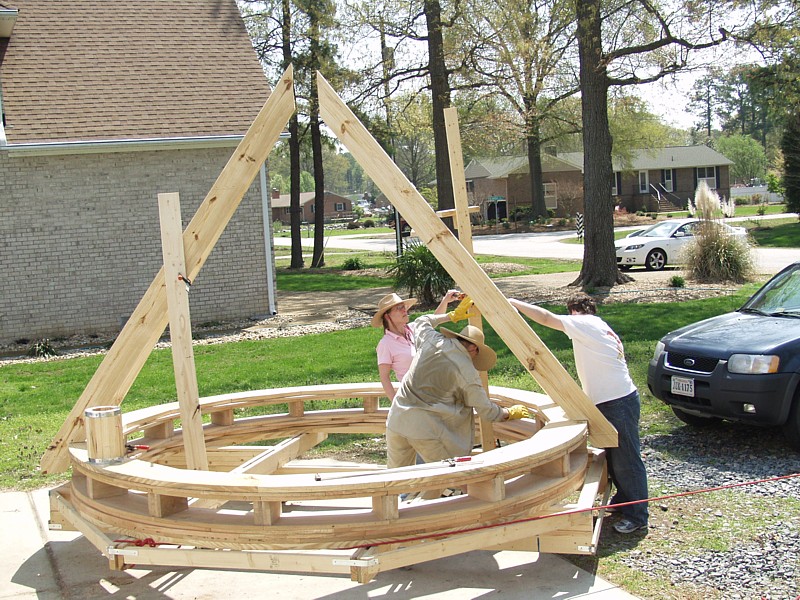
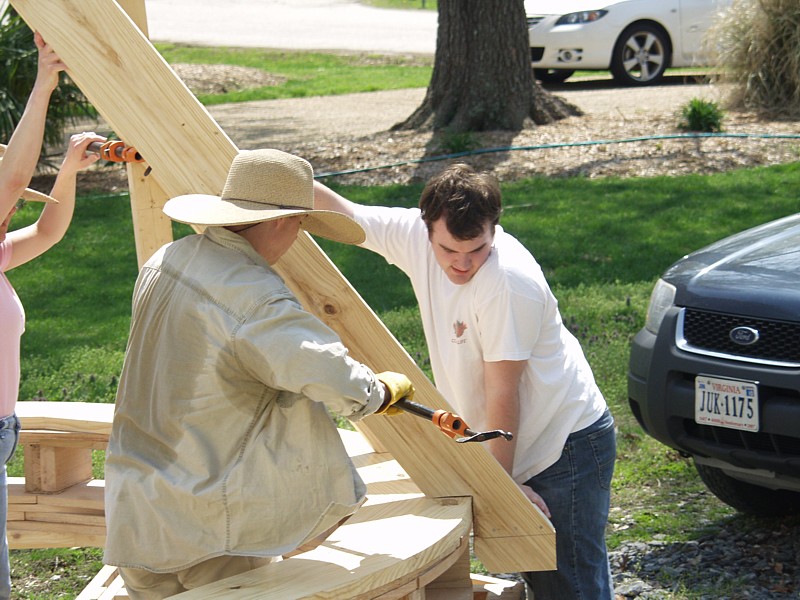
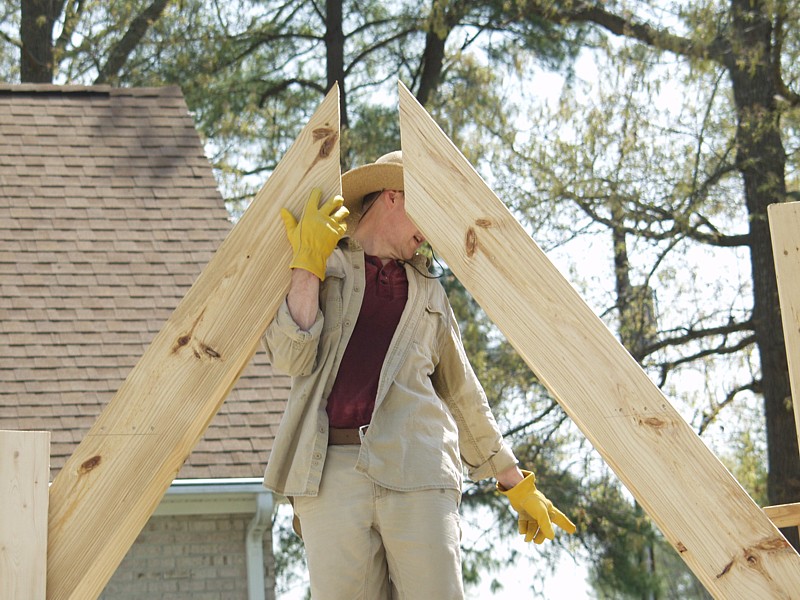
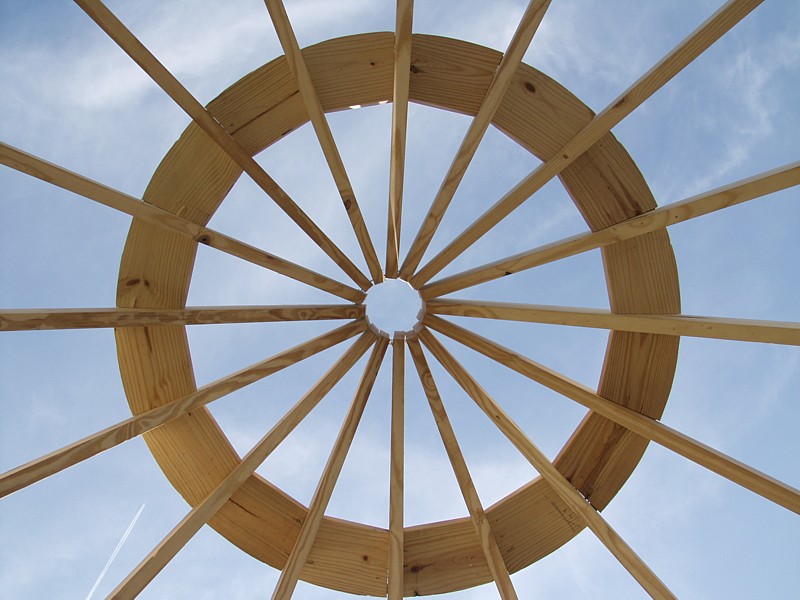
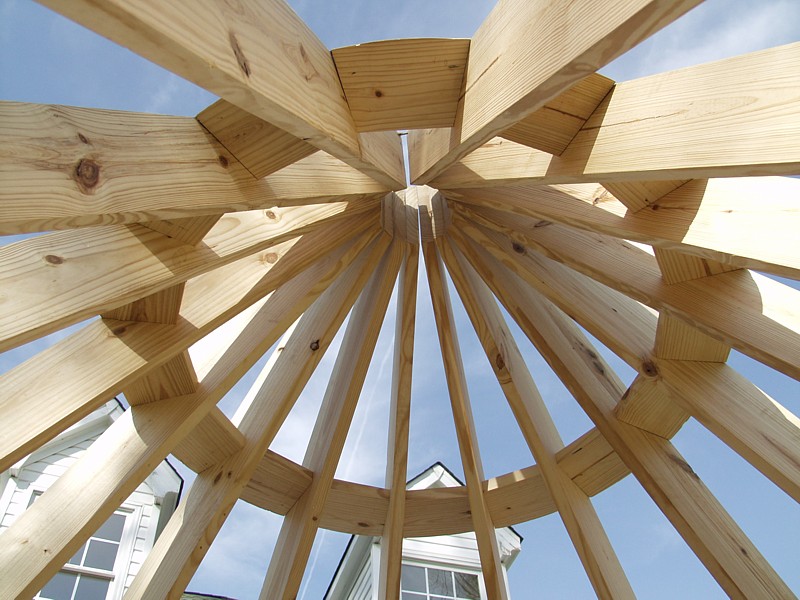
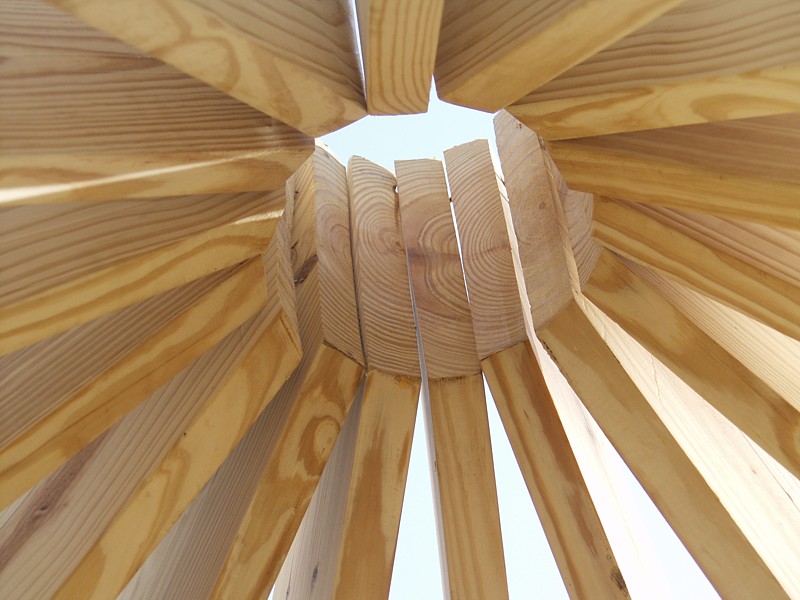
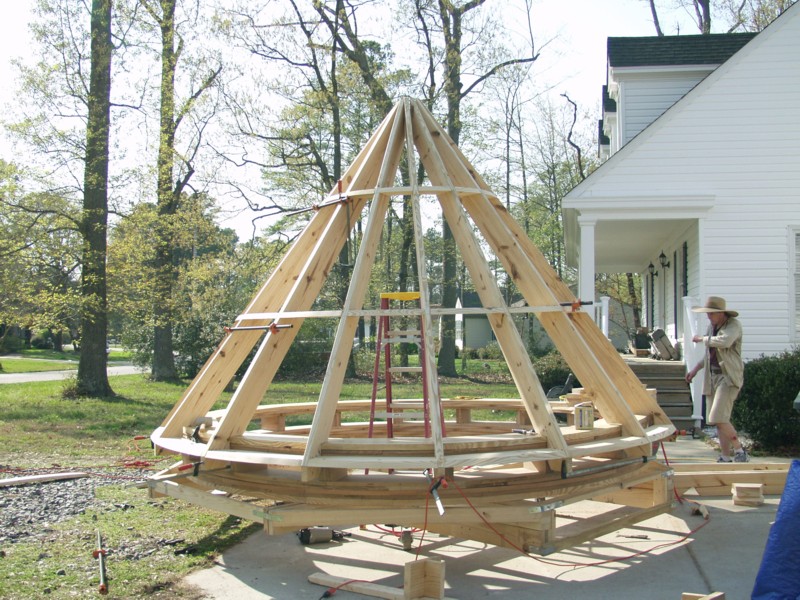
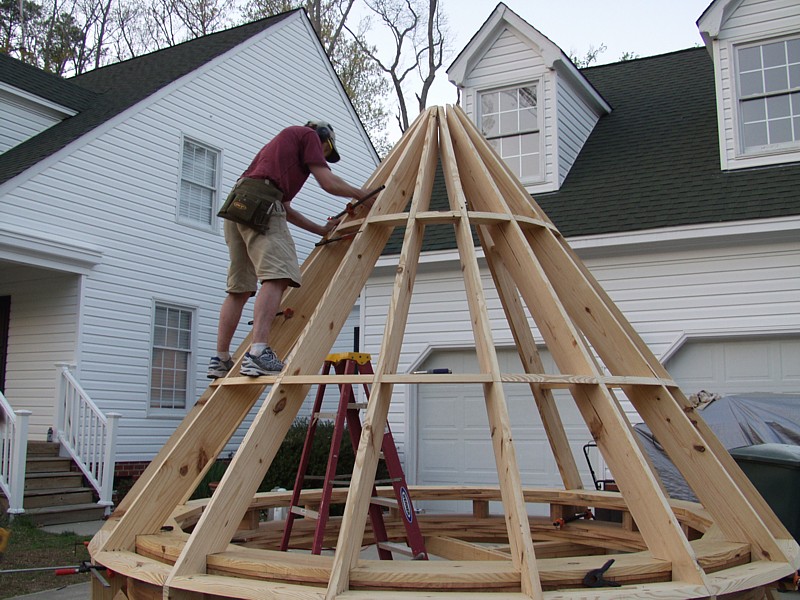
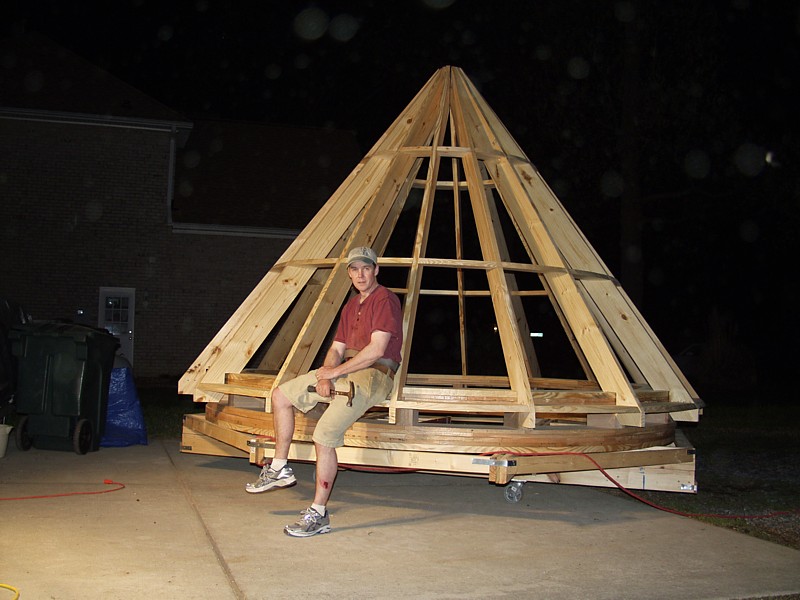
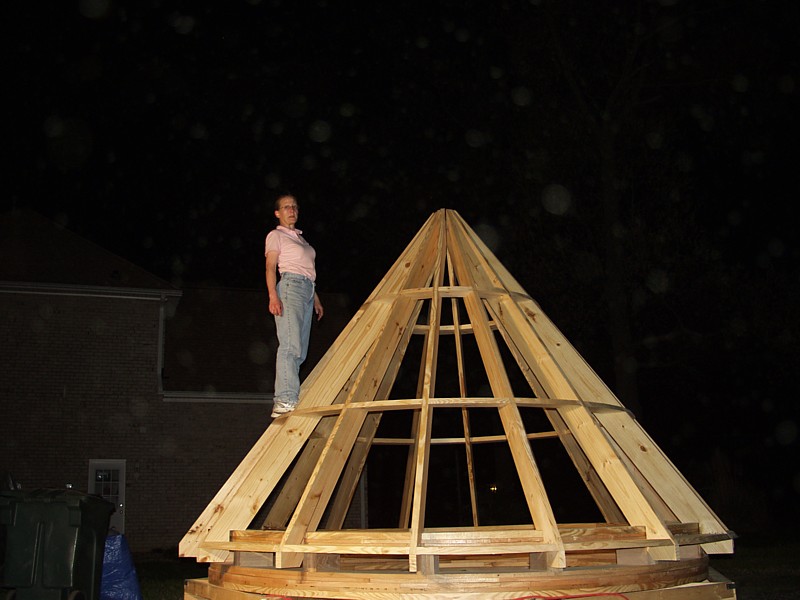
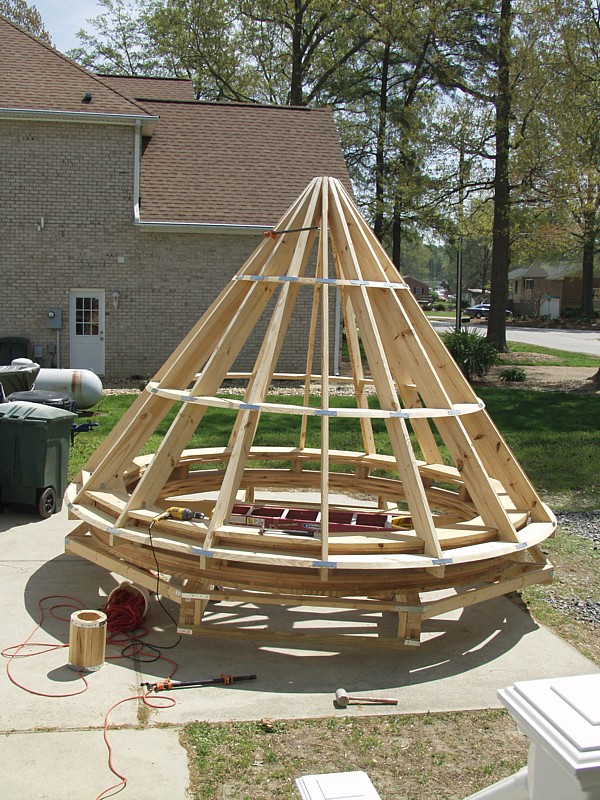
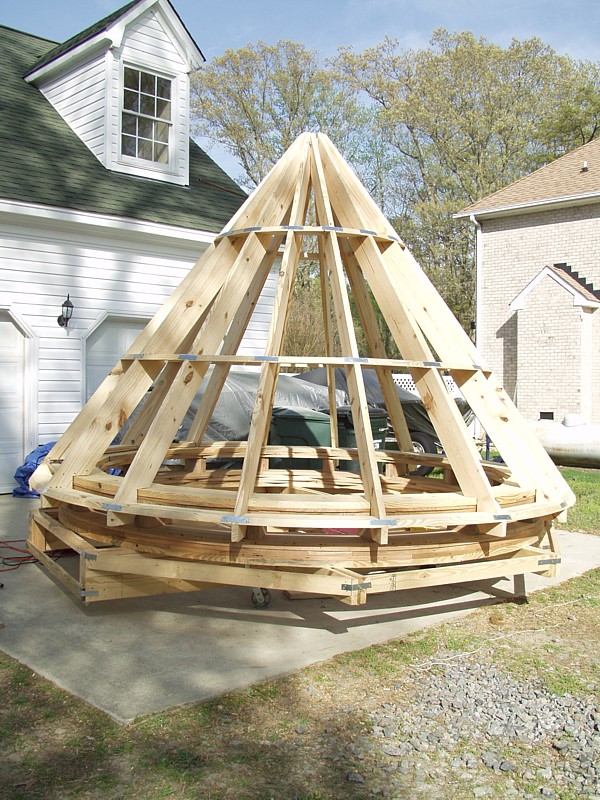
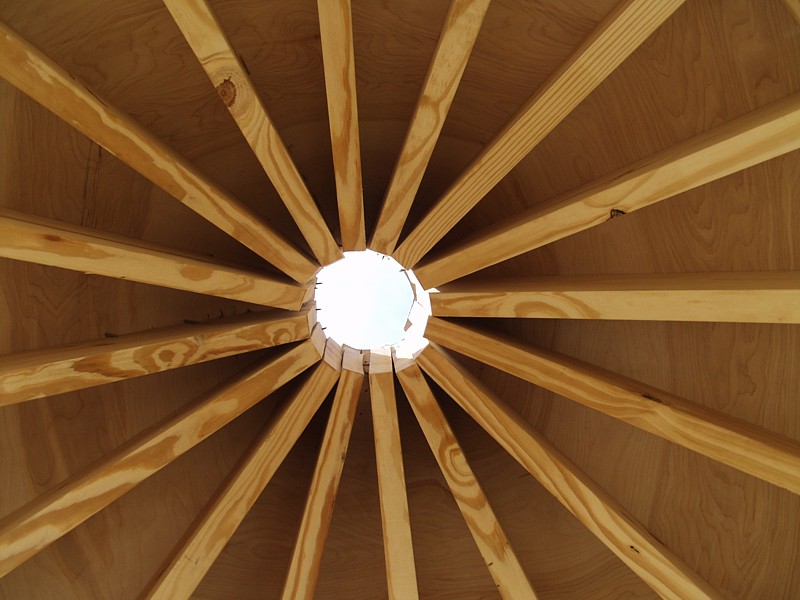
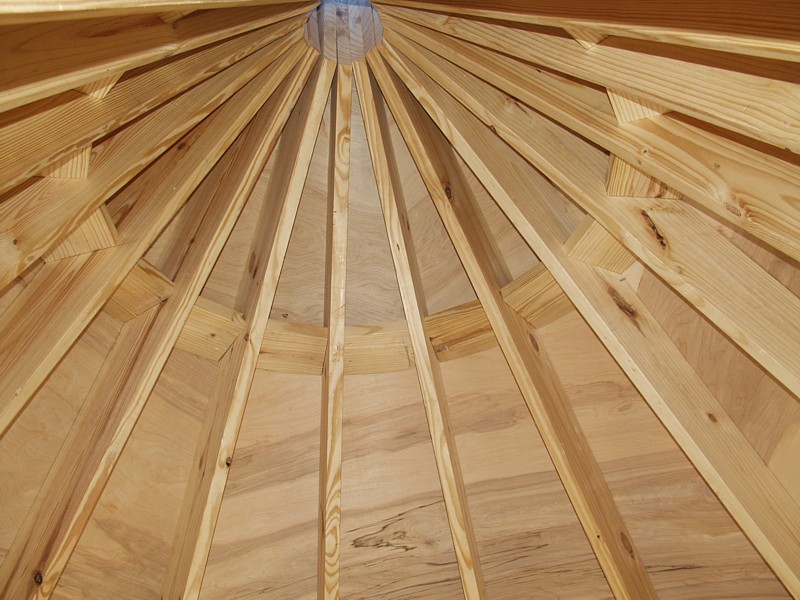
lumber the week before, so we were ready to roll first thing in the morning. Starting with the bare curb, we
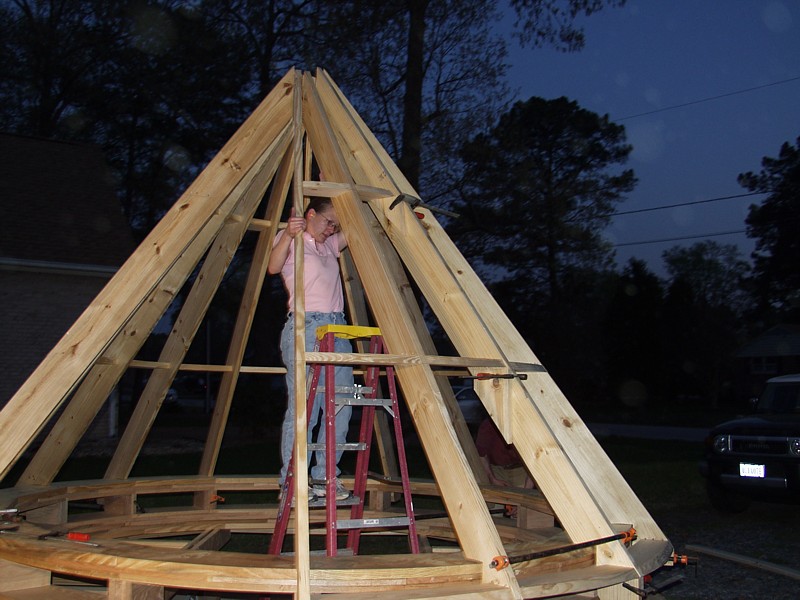
continued to add rafters and braces until the roof took shape. Amazingly, we were able to assemble the roof
framing in a single day of extraordinary effort...
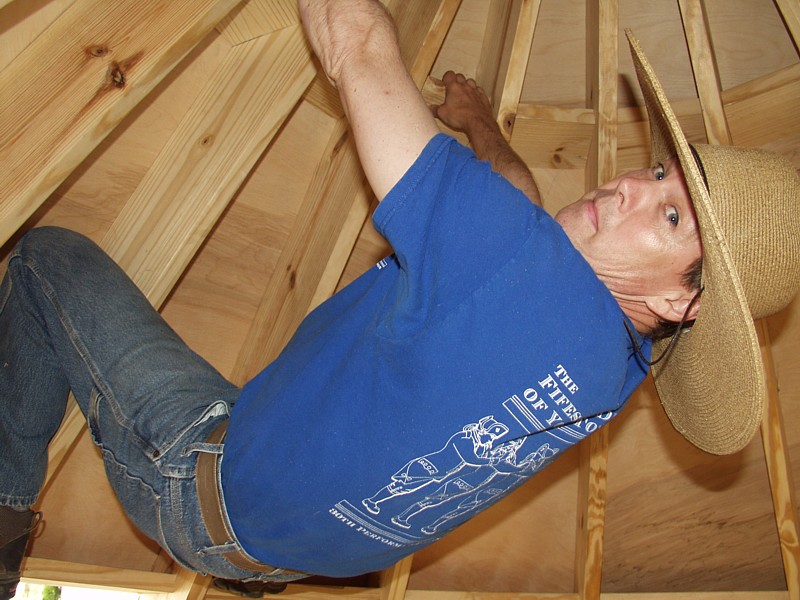
The careful observer will note a viscious injury on my leg where a rafter collapse early in the day
led to tears, swearing and the application of duct tape.

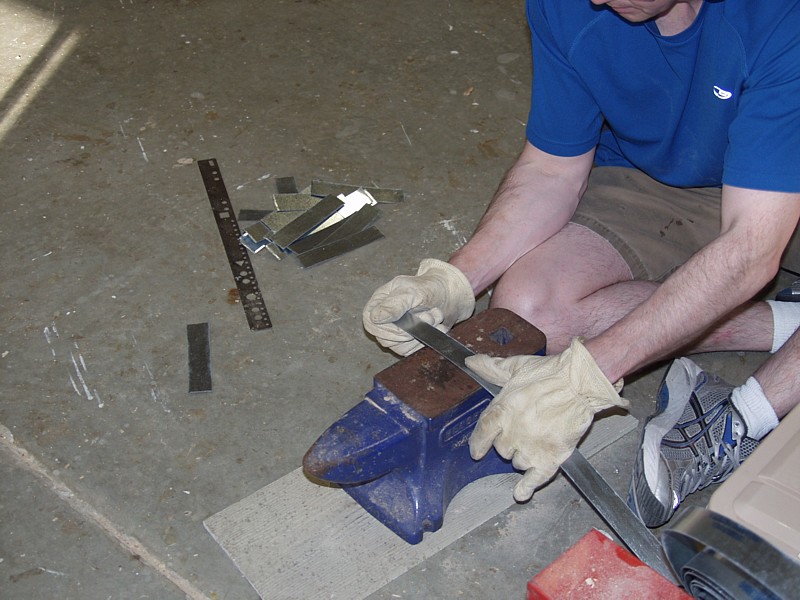
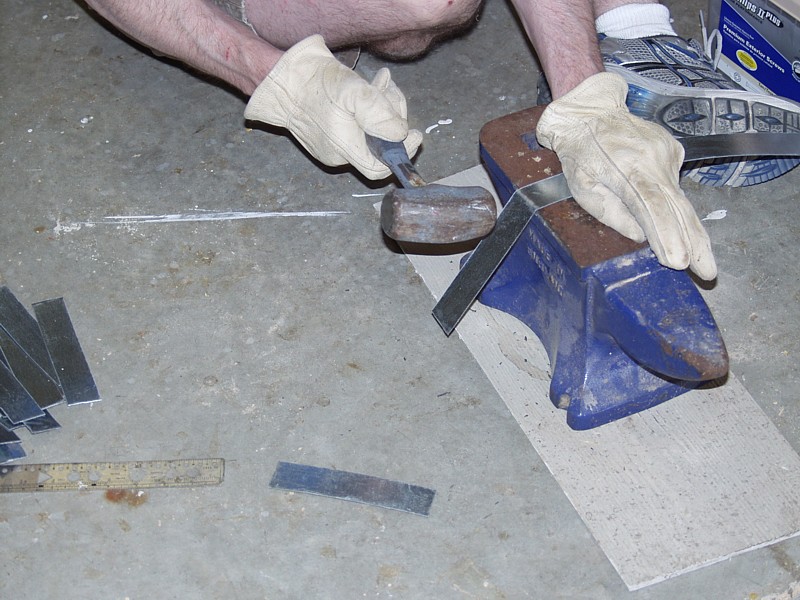
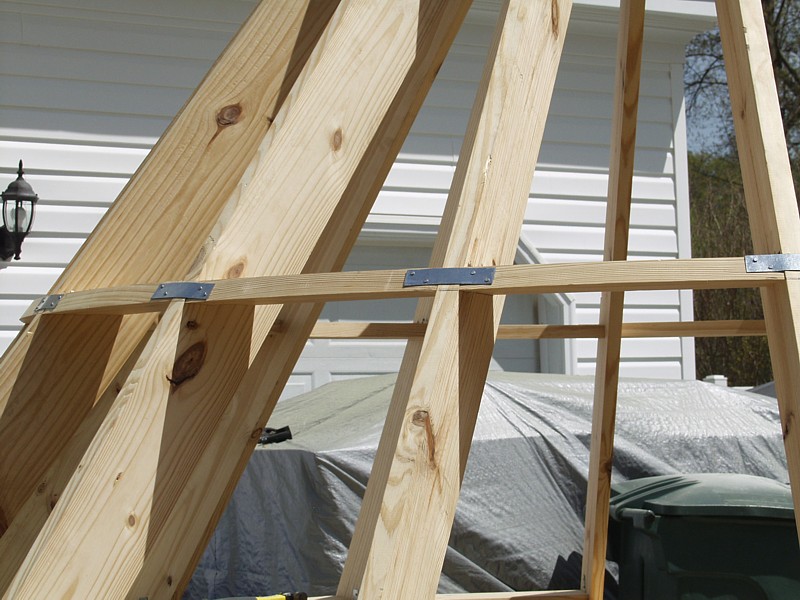
As anyone who lives on the east coast can tell you, wood and screws are not enough when it comes to
hurricane season --- what you need is steel. ASTM rated, galvanized steel to be exact. Consequently,
we spent the second day of the cap making adventure in the manufacture and installation of hurricane
straps.

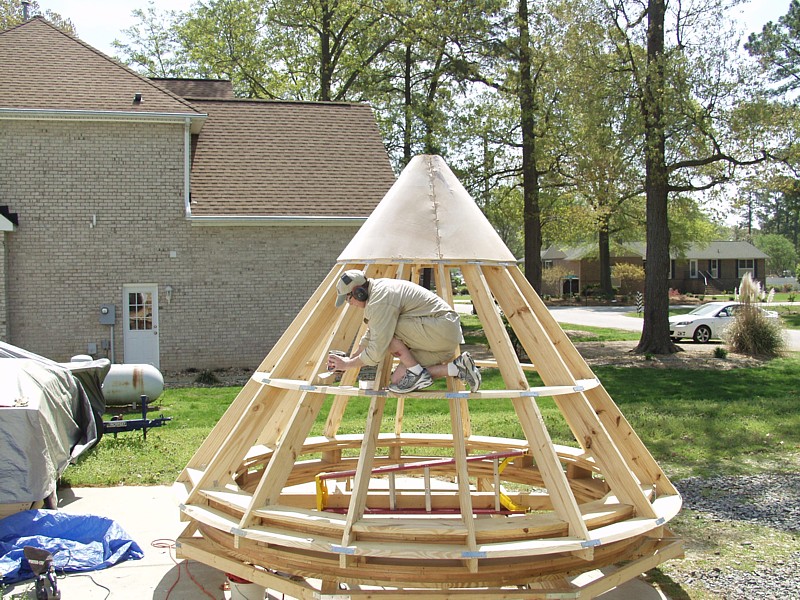
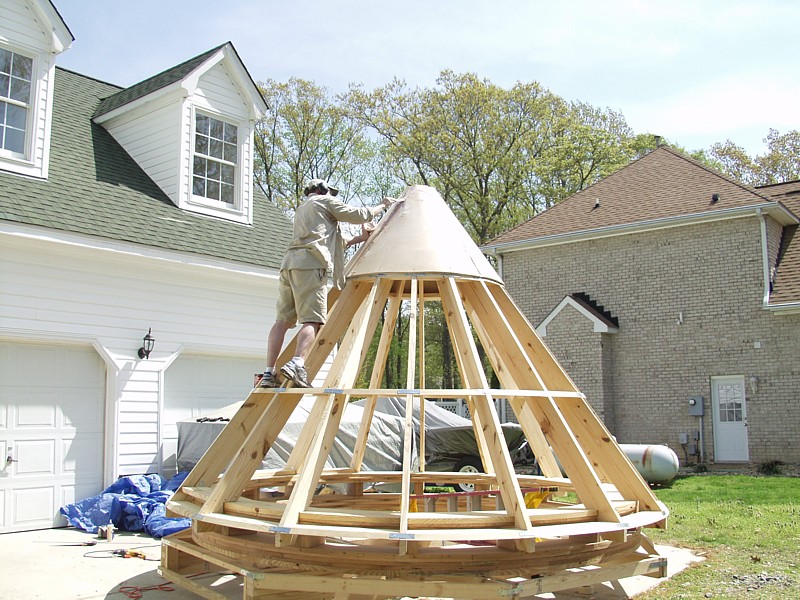
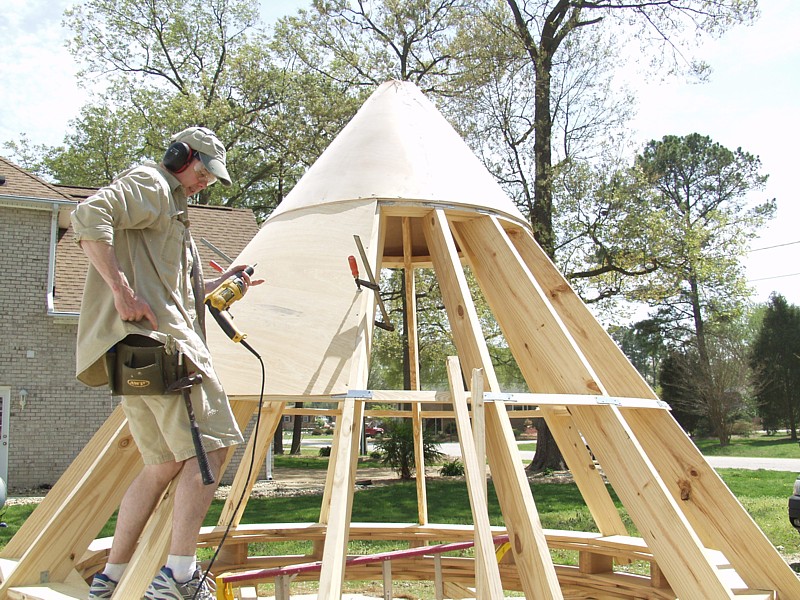
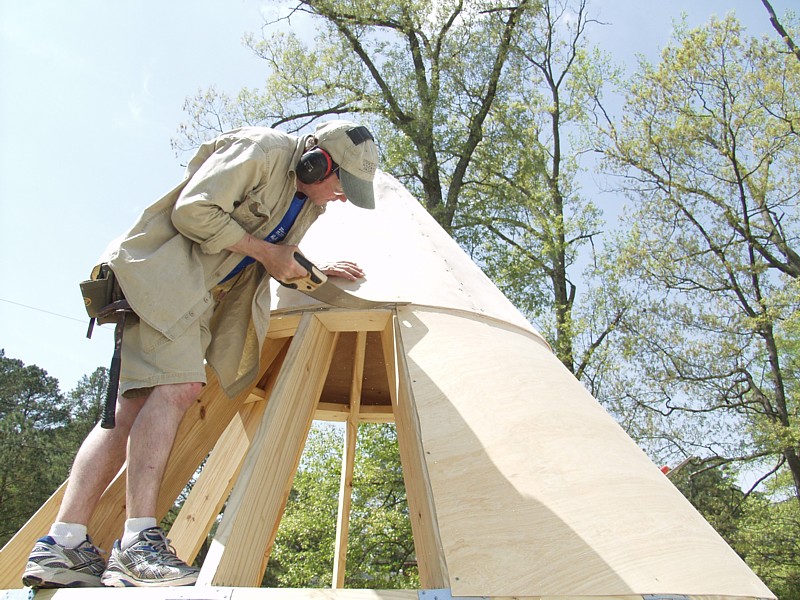
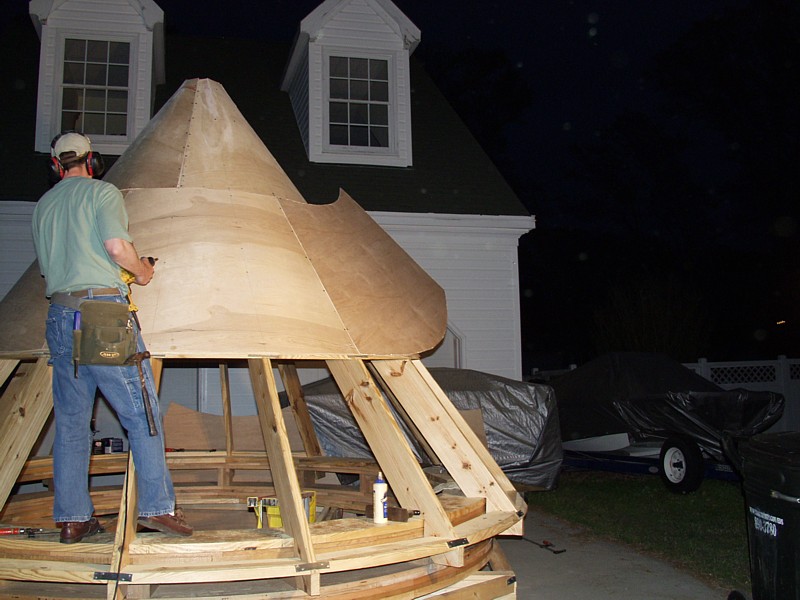
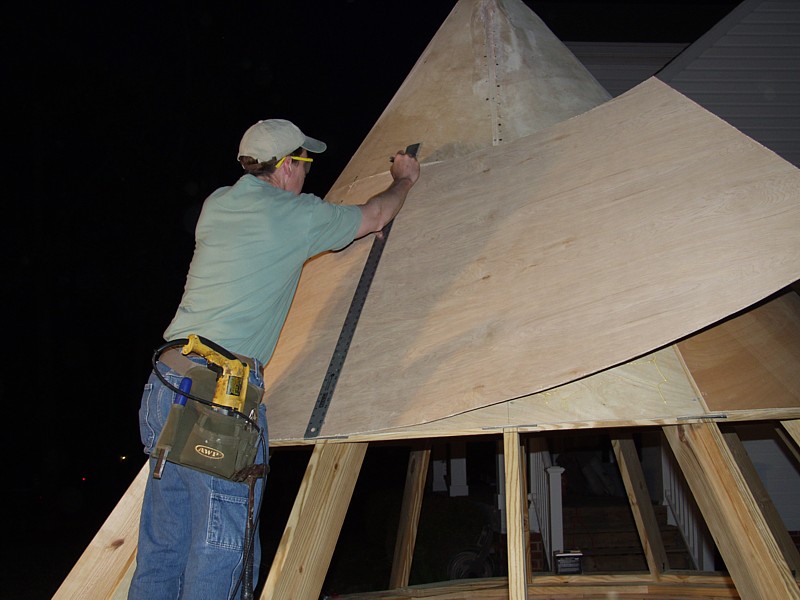
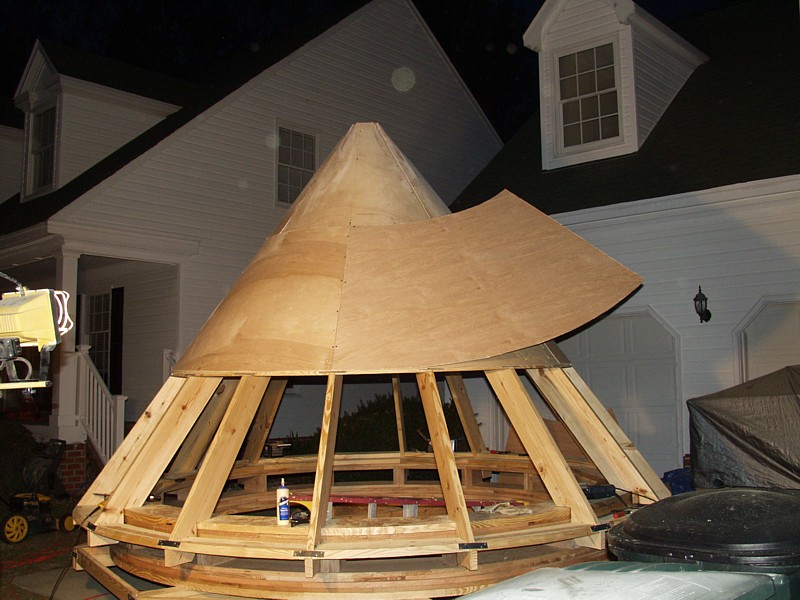
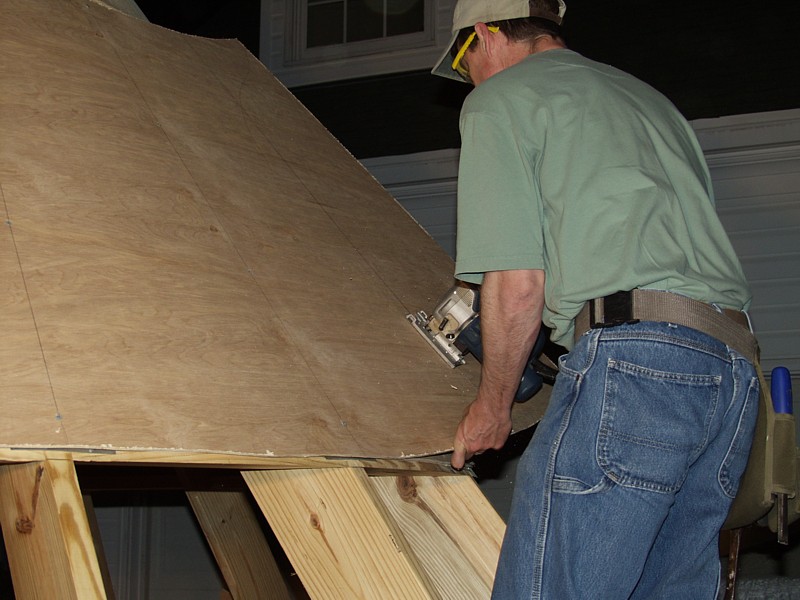
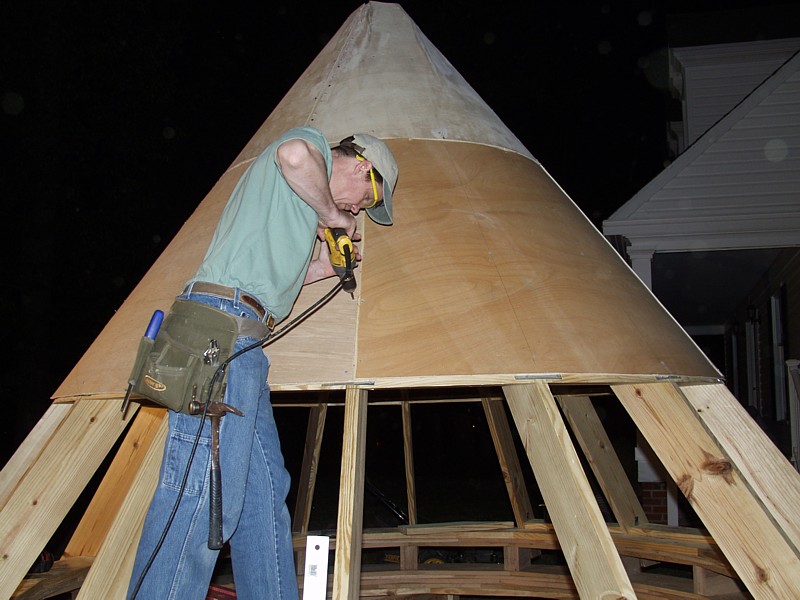
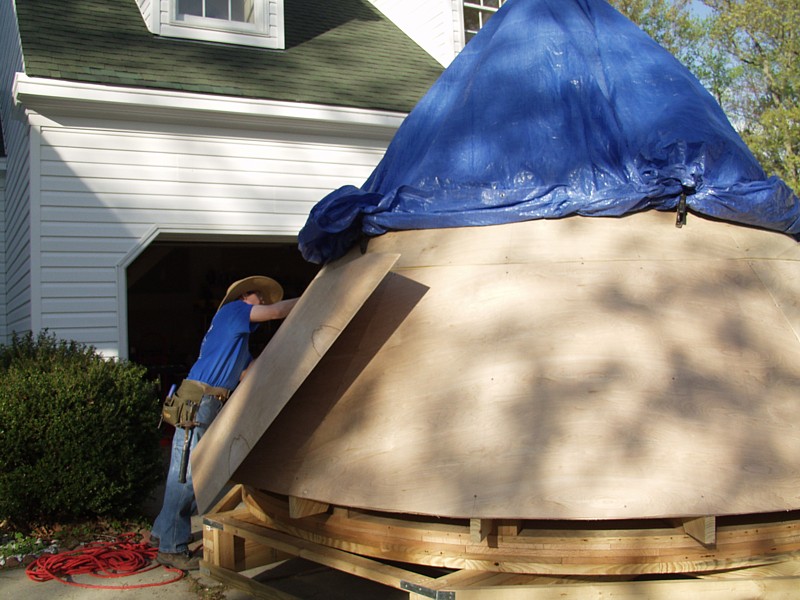
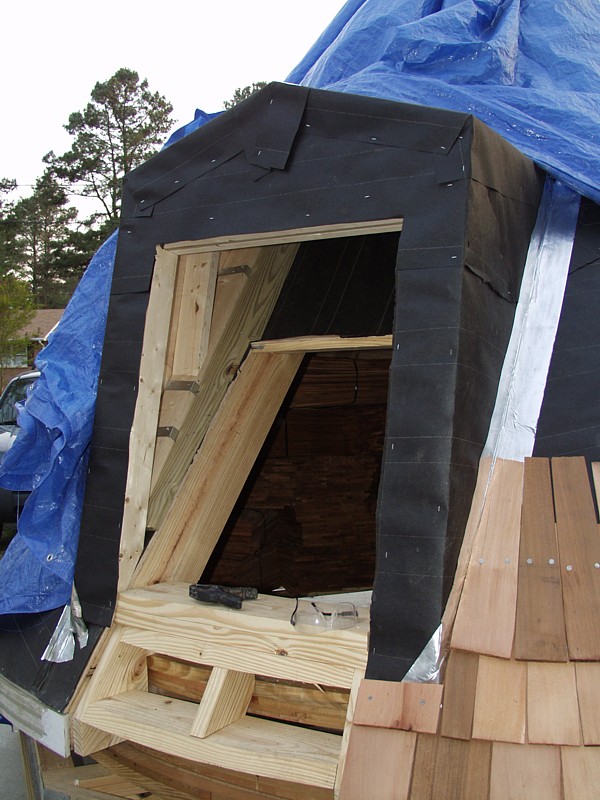
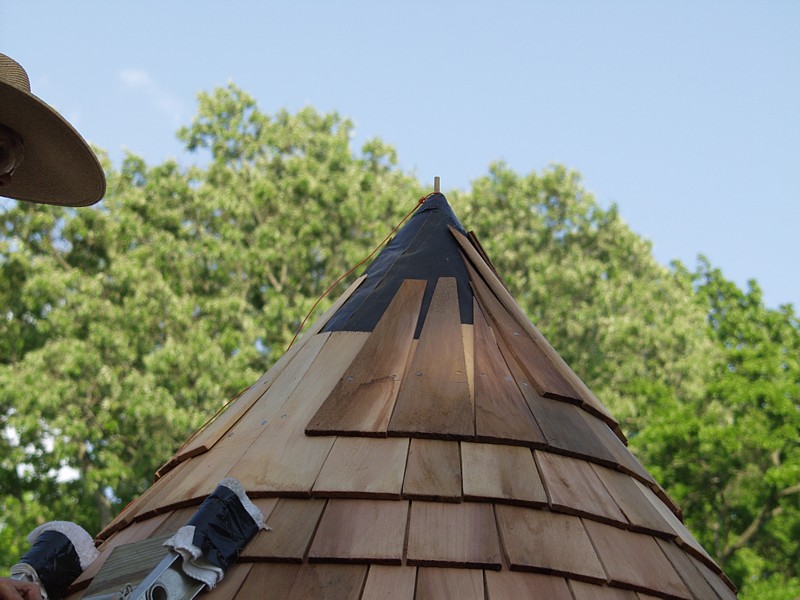
The next step in the process was to wrap the roof with three layers of 1/4" hardwood plywood. Technically
speaking, installation at the top is the hardest part because the curve radius becomes very extreme.
Because of that, in most cases you would want to start the application of plywood at the bottom where it's
relatively easy and develop your skills as you move up. Unfortunately, if you install plywood around
the bottom then you won't have the rafters and braces to stand on as you install around the higher
levels. Consequently, I had to start the learning process the hard way.
The good news is Bondo. When the plywood cracked in the upper layers, I was able to repair it with
a generous application of the auto body filler. The 'super putty' dried within five minutes and I was ready to sand and
continue.
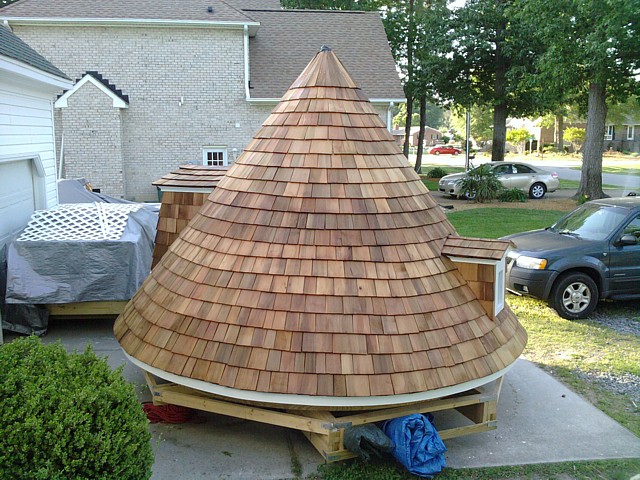
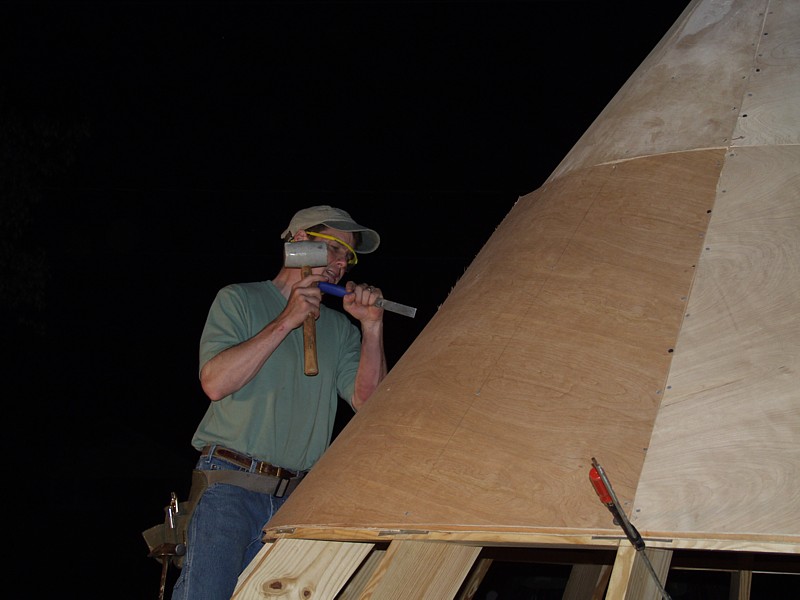
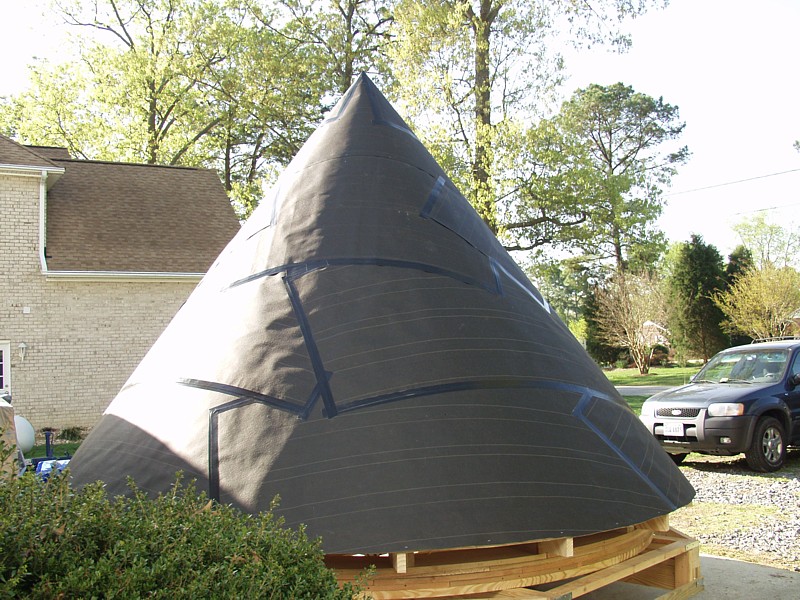
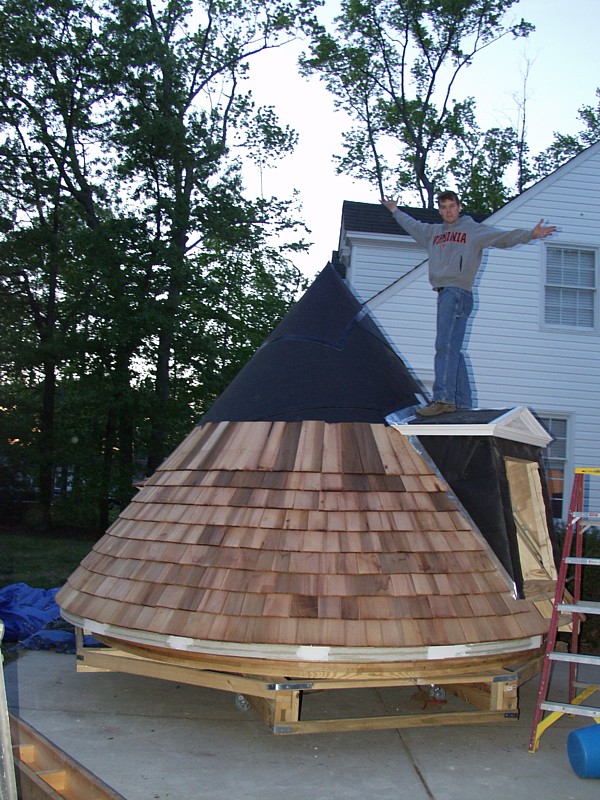
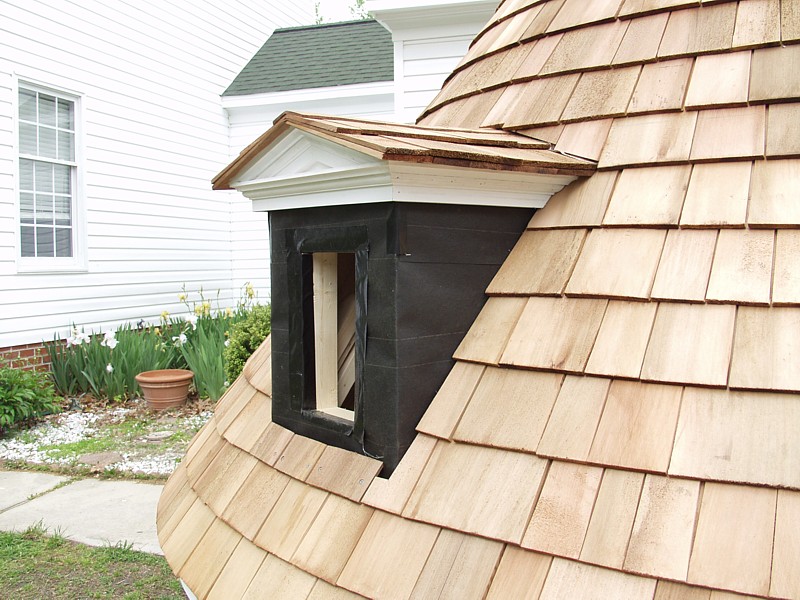
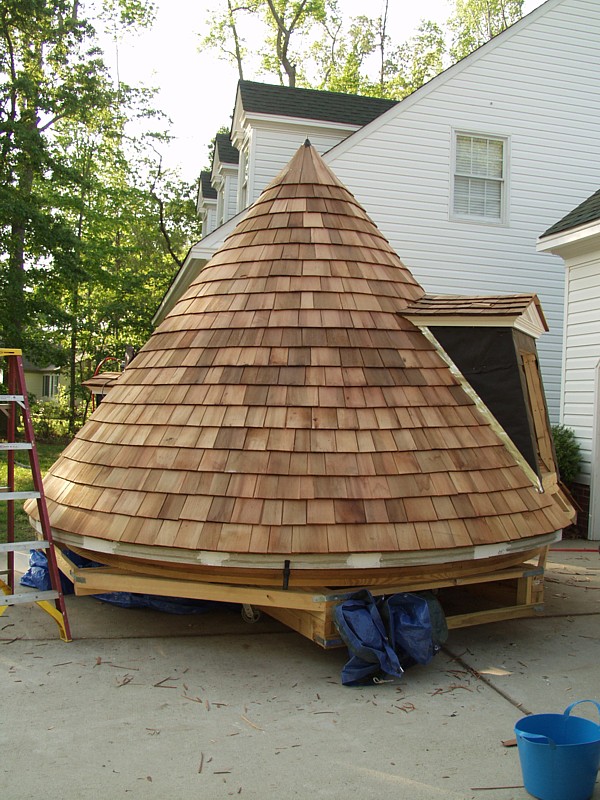
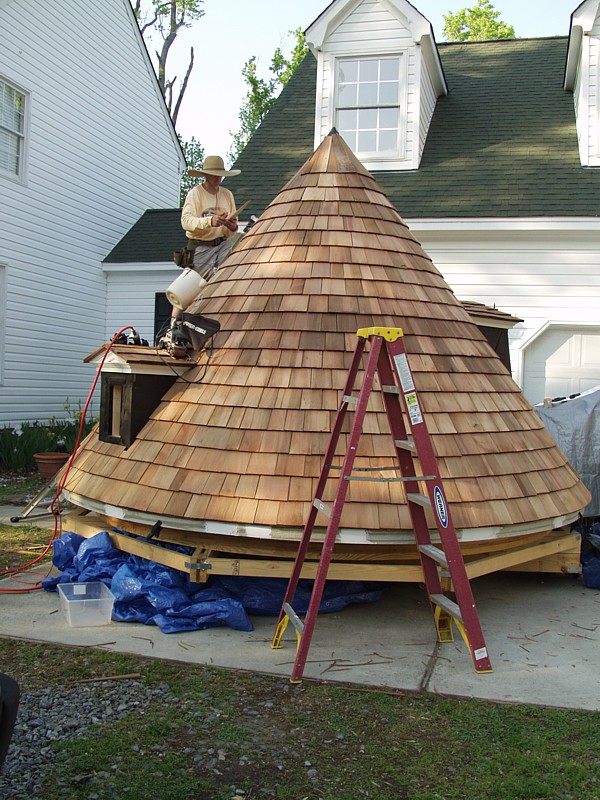
After a solid coating of tar paper, the cap began to look like a giant witch's hat on the front
lawn.
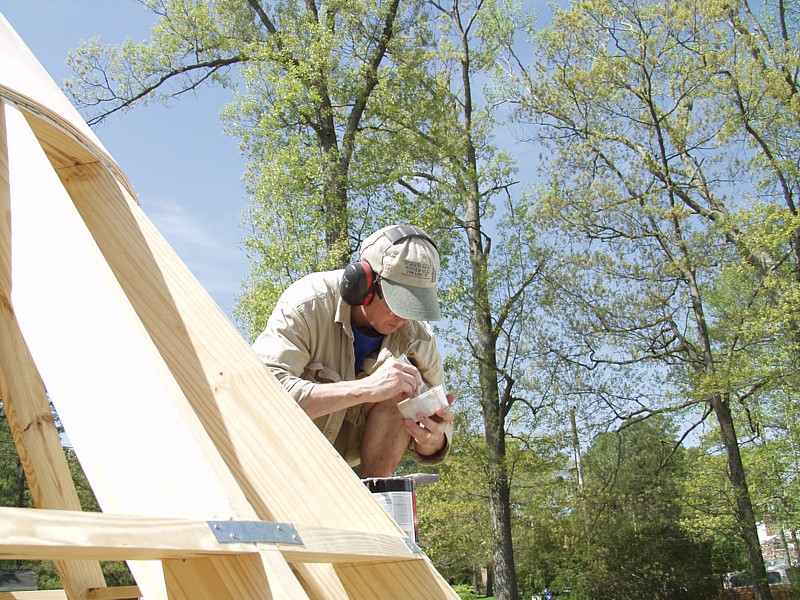


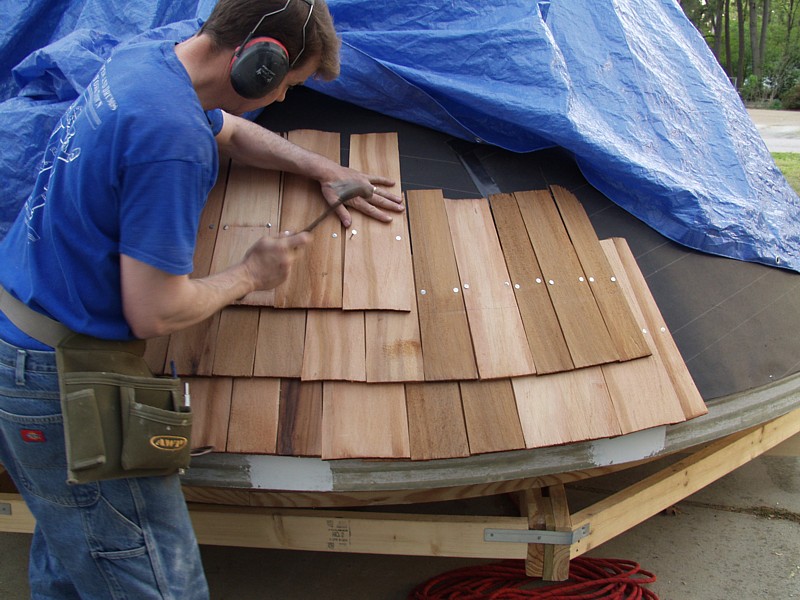
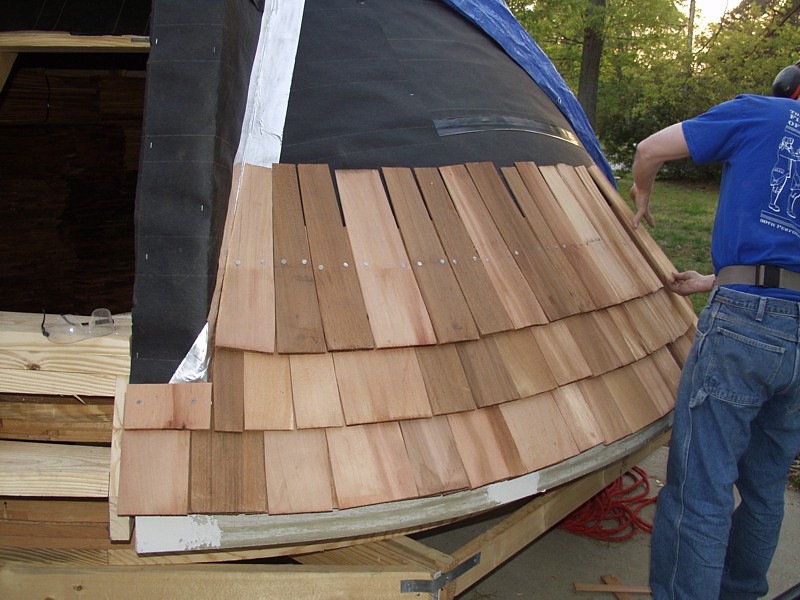
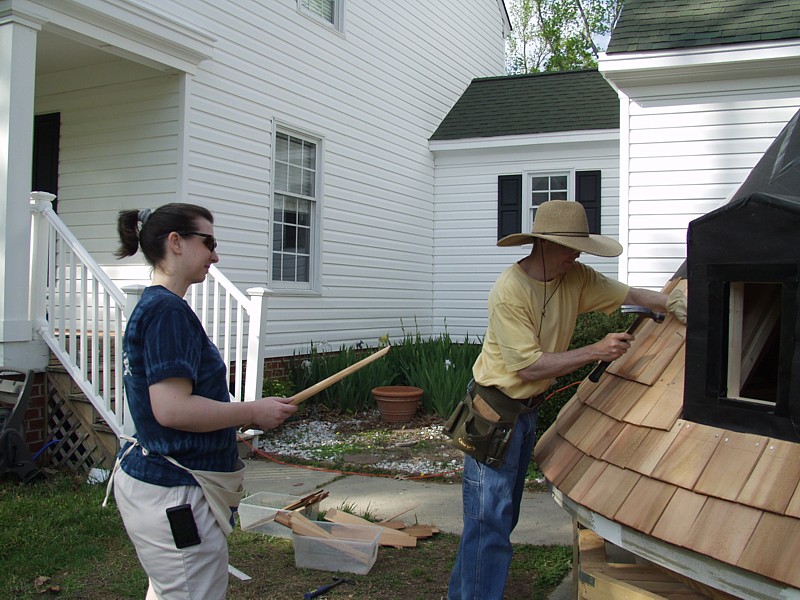
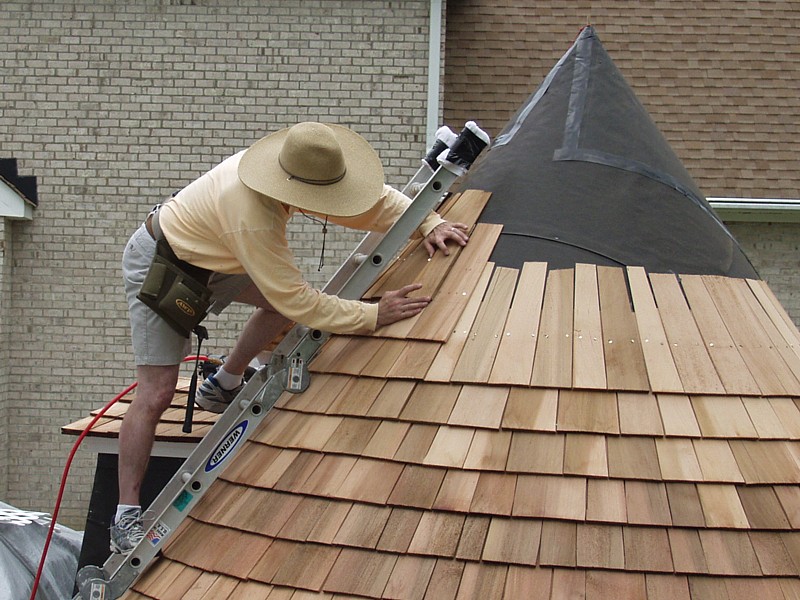
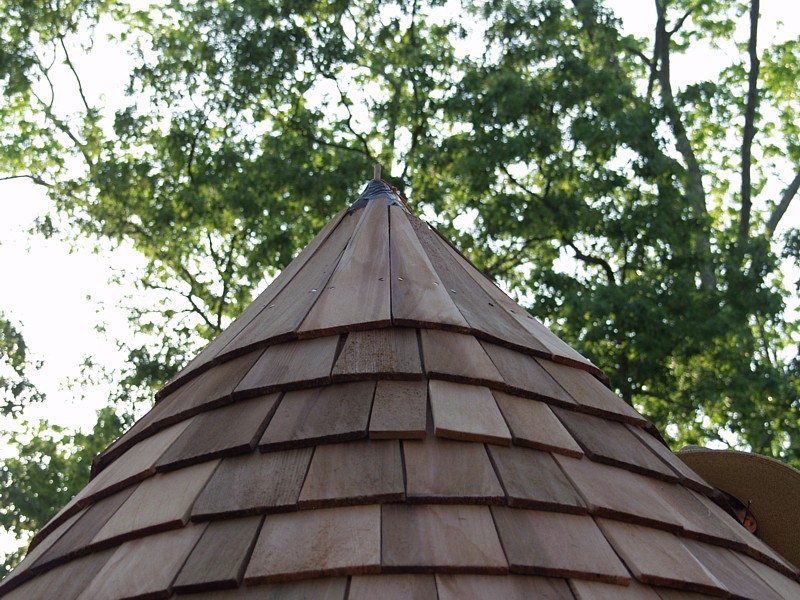
For those who don't know... and I was one of you... when shingling a round roof, every single shingle must
be hand tapered. The good news is that this process can be performed using a jig on the table saw, the
bad news is that the angle changes on every successive layer and varies depending on the width of the
shingle.
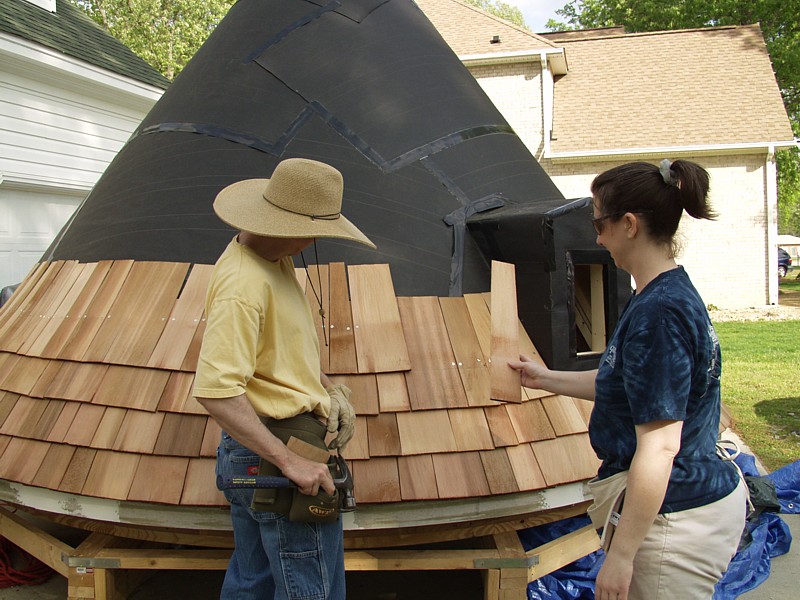
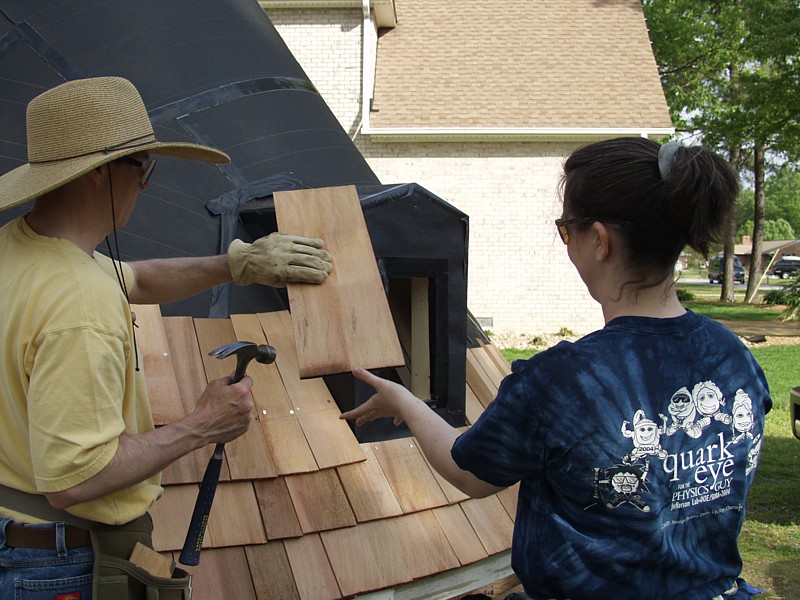
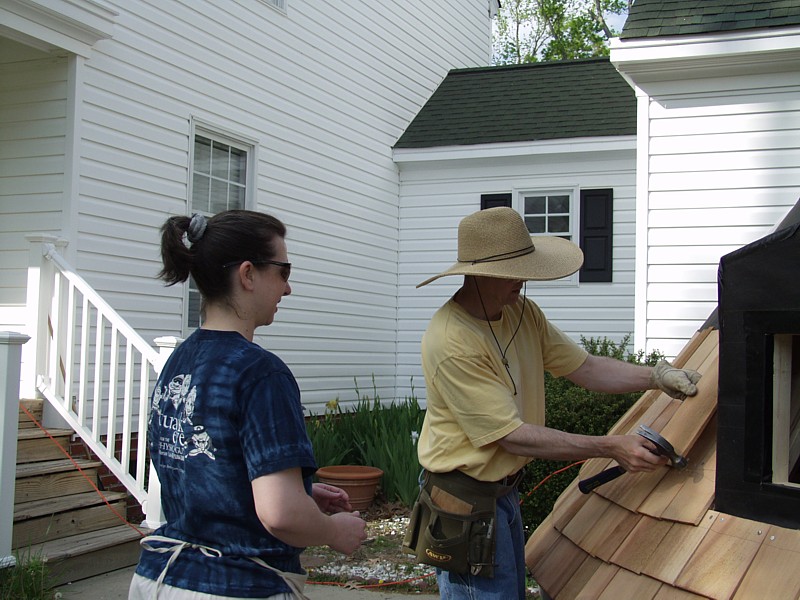
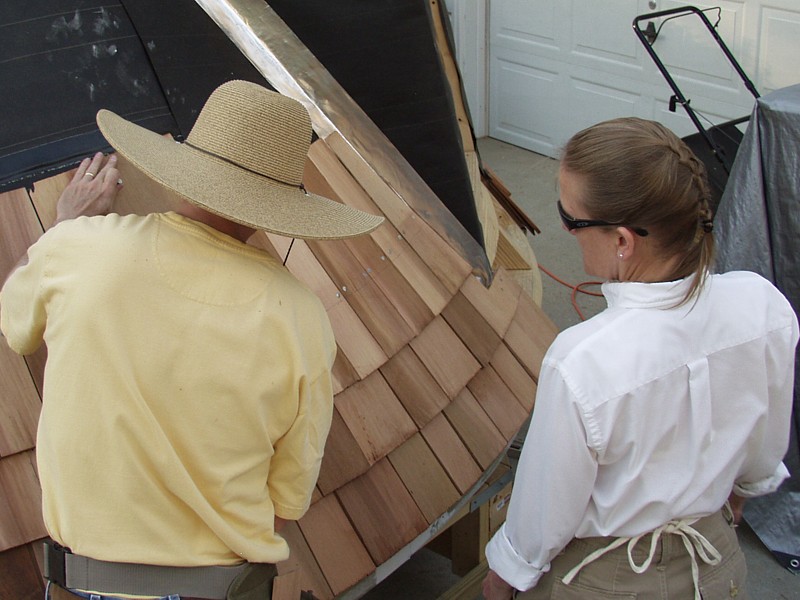
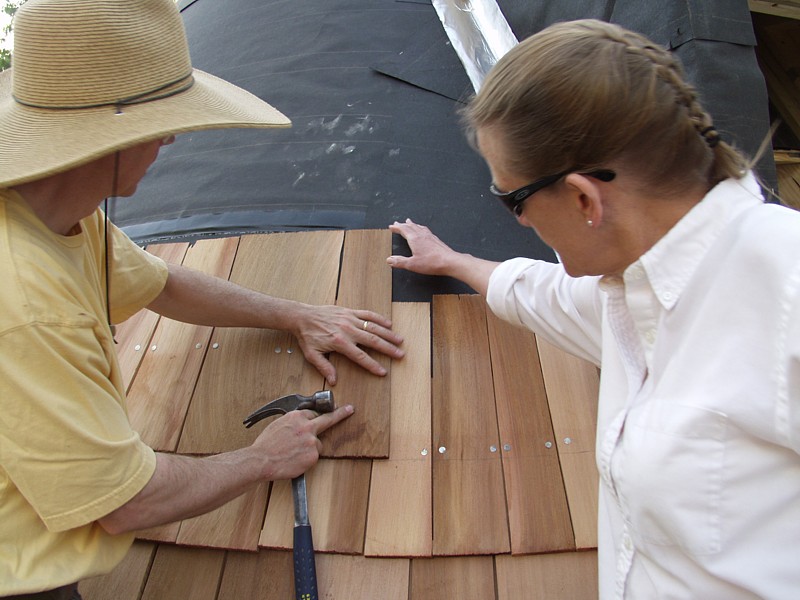
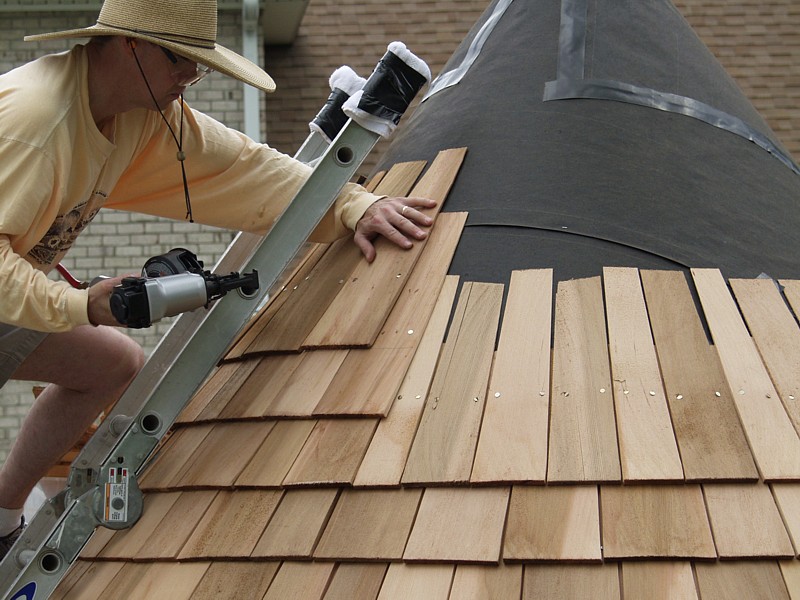
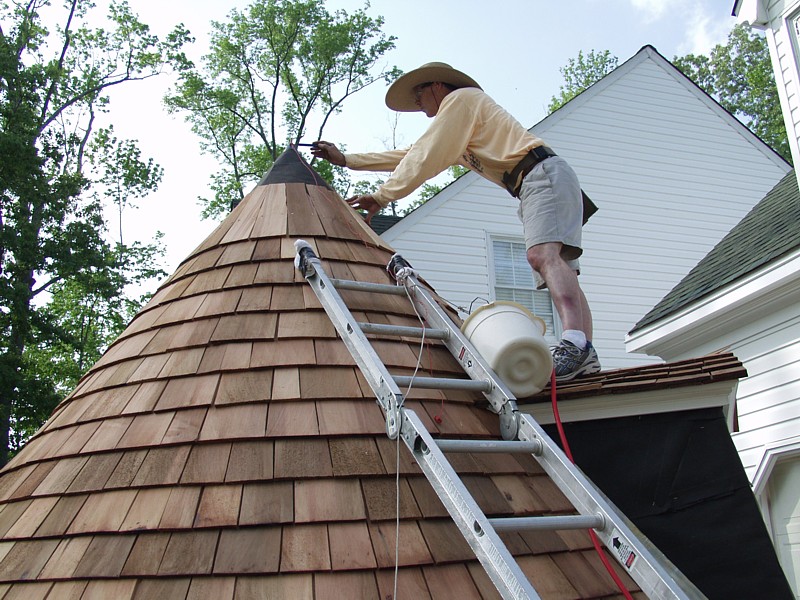
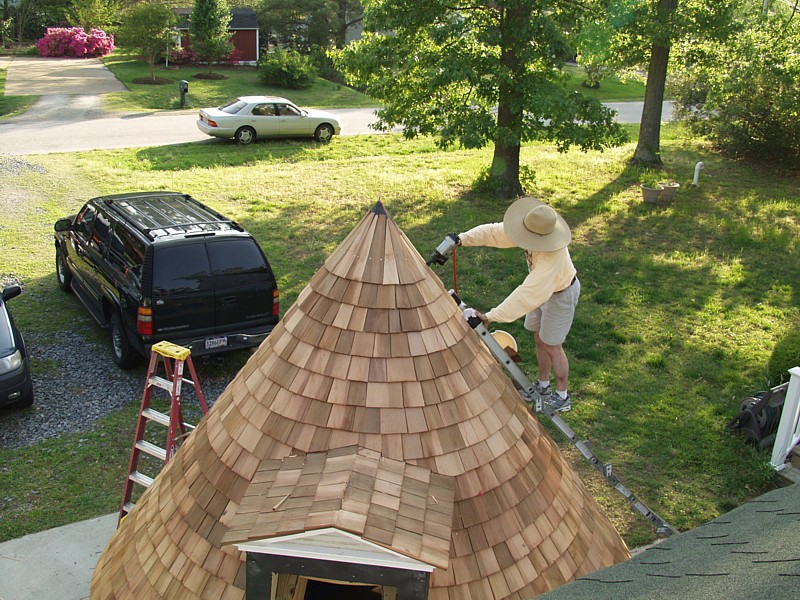
While the photos below show us boldly driving nails and layering shingles, let me assure you that there
were many hours of trimming and tapering before the first nail went into the cedar. Also, although we were
all having fun swinging hammers and hitting our thumbs, we decided later that it was more prudent to employ
a coil roofing nailer. While not as festive (or colorful), the tool provided a consistent nail depth and
reduced bouncing that loosened adjacent shingles.
Not shown in these pictures is Diamond Dean Golembeski... His efforts were especially heroic on this
part of the project because he was the only one of us who had ever installed shingles
before. Consequently, he was able to correct (or conceal) most of the mistakes
that we made in the lower levels. Also, since he's at least a foot taller than
the rest of us... he was able to go much further than we could without employing
a ladder.

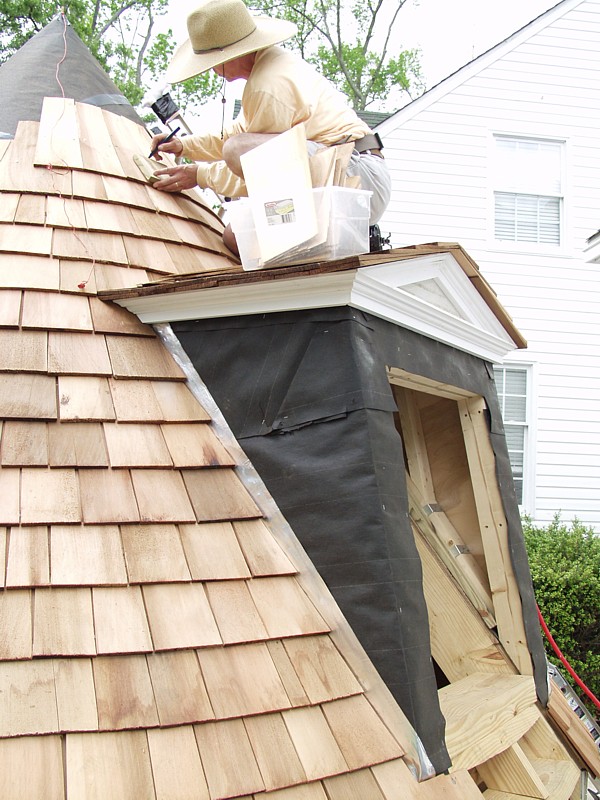
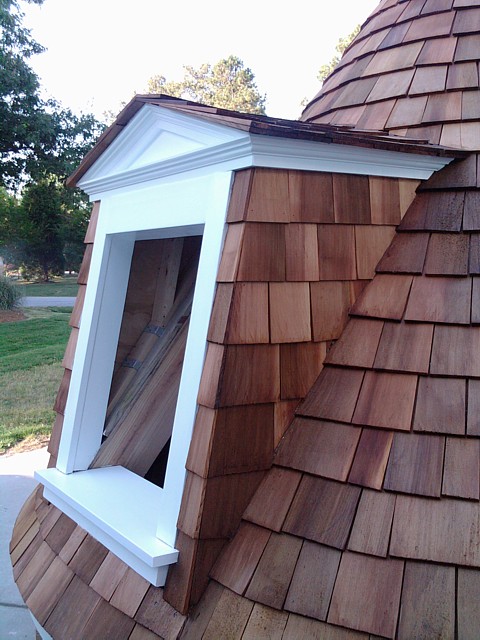
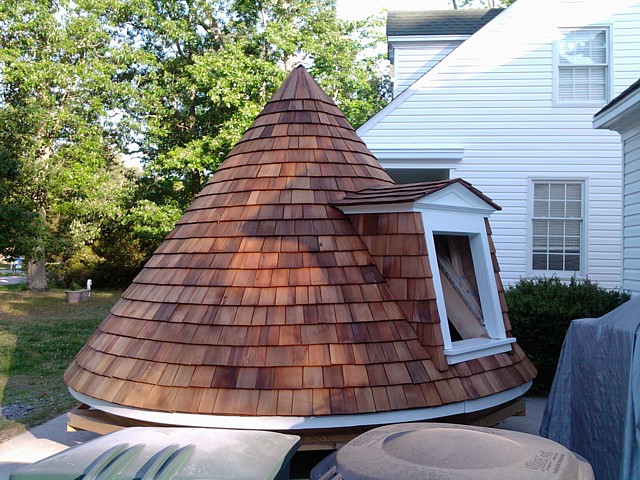
After the roof was completed, all of the shingles were sealed with a heavy coat of
Thompson's Water Seal Advanced Formula. If applied annually, the sealant will help the roof last
for many years and will reduce discoloration from age and sun exposure. Additionally, a high
quality clear silicone sealant was used anywhere that cracks resulted from bending the cedar. Once
sanded, the sealant practically disappeared, but continued to provide a weather-tight lock in the
cracked wood.
For this part of the project, all hands were on deck and I wish to personally thank our volunteers:
| Jefferson Lab
| Jefferson Lab
| Troop 123 of Seaford, Virginia - Boy Scouts of America
| Old Dominion University
| Jefferson Lab/The Twisted Oaks Foundation
| Jefferson Lab/The Twisted Oaks Foundation
| |